
Administer
Manage tenants
Create a tenant, open it, and manage its main settings.
Before you start
Sign in as a platform administrator. Confirm the approved tenant name and address with your organisation.
Open the tenant list
Open Platform, then choose Tenants. This page shows each tenant and its current state.
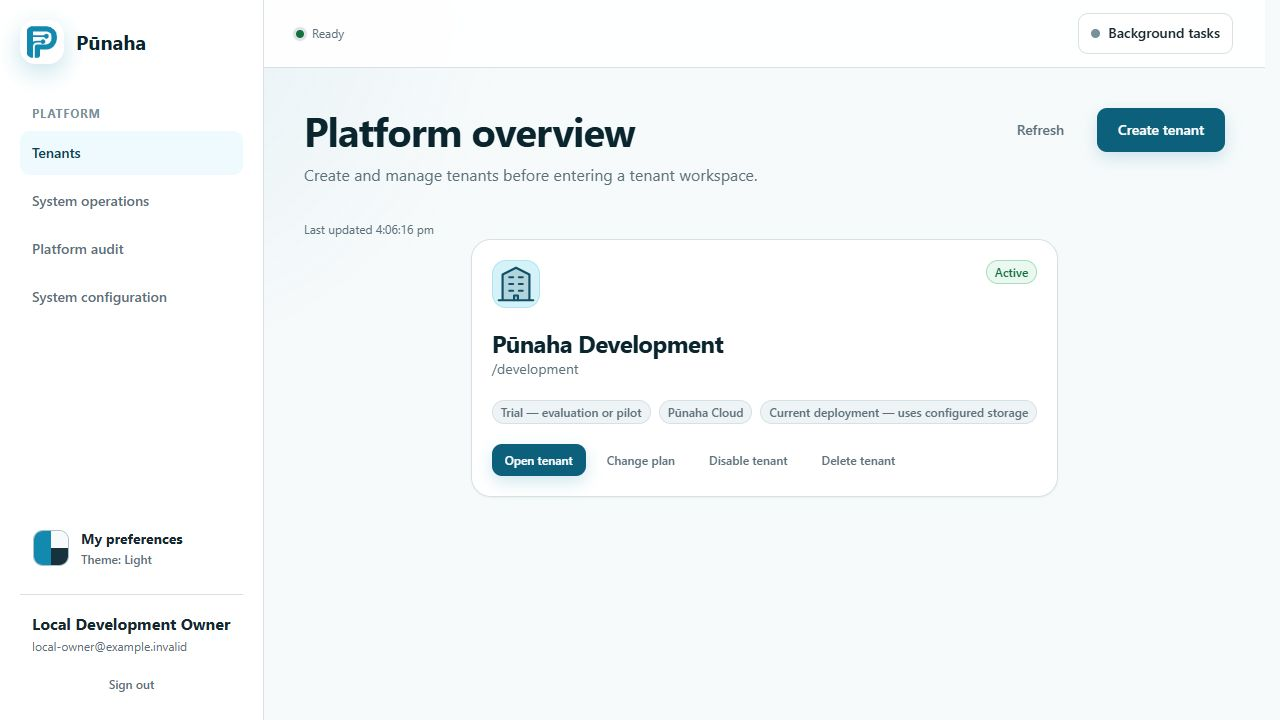
Create a tenant
- Choose Create tenant.
- Enter the approved tenant name.
- Enter the address that people will use to identify the tenant.
- Review both values.
- Save the tenant.
- Open the new tenant.
Check the result
The new tenant should appear in the tenant list. Its overview should open without showing information from another tenant.
Add the tenant owner. Then set up sign in, storage, models, and access before people start work.
Check the tenant name
Always check the tenant name before you change people, data, or settings.
If the tenant is not created
Read the message shown by Pūnaha. Check the name and address, then confirm that another tenant is not already using the same identity.
Do not change an existing tenant to work around a failed save unless that change is separately approved.
Next step
Continue to Invite a person and give access.
Delete a tenant
Deleting a tenant removes important data. Save any records that your organisation must keep. Complete your backup and approval process first.
Pūnaha asks you to type a confirmation before it deletes the tenant.
Was this page helpful?
Your answer helps us improve the documentation.
Do not include personal information, customer information, passwords, or keys.